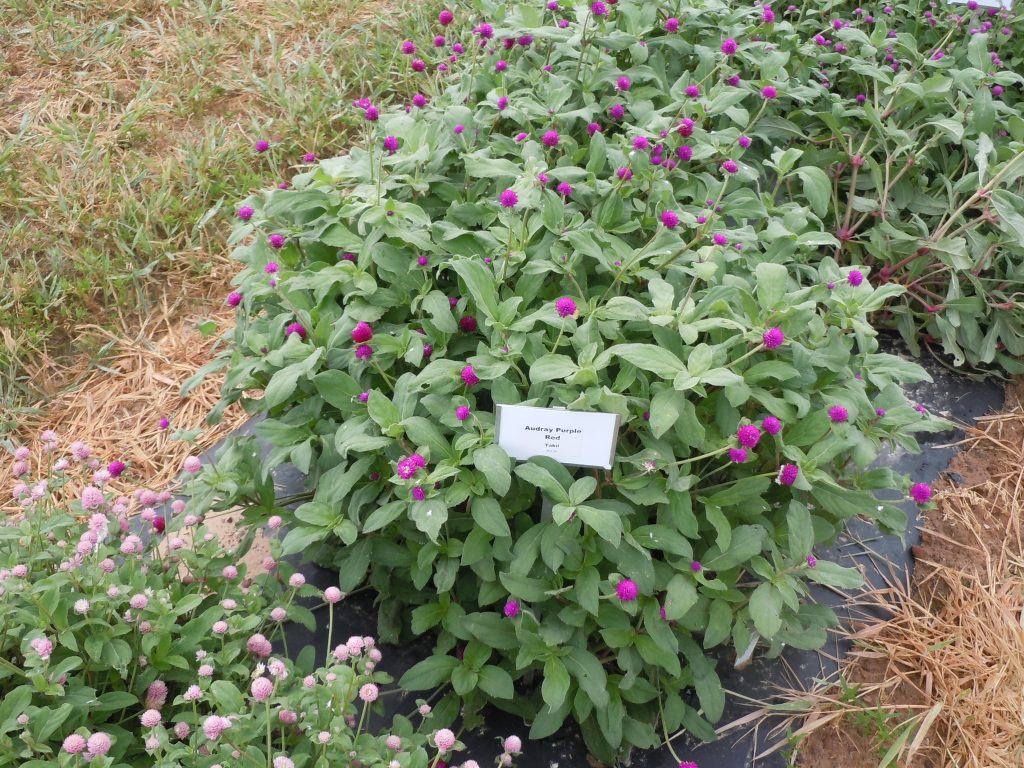
An essential skill to develop for an abundant garden is to successfully start plants from seeds. Seed  starting provides access to a wider variety of plants at a lower cost than when using purchased seedlings. Since plants take up valuable retail space, garden centers offer only those that are in high demand and profitable to sell. On the other hand, seeds take up very little space and are easy to ship when ordered online, allowing a huge variety to be available at a lower price. There are other advantages to starting plants from seeds, but I think the biggest one for me is that it’s fun and sort of awe-inspiring when a seed goes from a small object that appears to be lifeless to a healthy, green plant. However, it can be frustrating to spend time, energy and money to start seeds only to have them fail to thrive.
I haven’t always had a great outcome when trying to get seeds to germinate, grow and transplant to the garden, so I’ve put together a list of mistakes that I’ve made and learned from over the years in the hopes that it will help you to succeed in your seed starting efforts.
- Using seeds that are not viable. Seeds have a lower germination rate as they age or if they are stored improperly (they need a cool, dry environment). Seed packets generally indicate the period in which they should be used. If viability is in question, wrap a few seeds in a damp paper towel and put aside for a few days. Keep the seeds moist and check them daily to see if they have sprouted. If the seeds haven’t sprouted by the end of the germination period for the type of seed, they are not viable and should be discarded. I often use this method for seeds I have harvested from the previous year’s garden. The seeds that sprout in the paper towel can be transferred to seed starting medium.
- Not using high quality seed starting medium. Soil for starting seeds needs to have nutrients to feed the young plants until they are ready to transplant. The soil should also be loose enough to allow water, air, and nutrients to penetrate, but dense enough to retain some moisture. If the seed starting soil is compacted, it can retain too much moisture, which can lead to mold and other issues.
- Not planting seeds under the correct conditions. Each type of seed has specific requirements that need to be met for it to sprout. It’s important to read the directions on the seed packet or to research germination requirements to obtain information regarding:
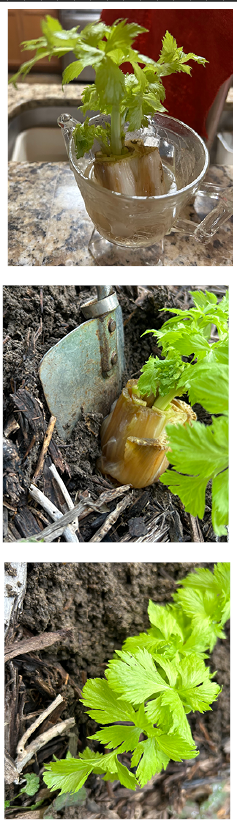
- Some plants have delicate root systems and do not transplant well. Those seeds should be sown outdoors rather than started inside. Other plants grow better when planted inside and transplanted to the garden.
- Seeds with hard coatings should be soaked and/or scarified before they are planted for the best results.
- Most seeds that can be started inside need to be kept at 70° – 80°. Heat mats can be used to keep seeds at the proper temperature for germination. Seeds planted outside will not sprout until the soil reaches the temperature required for the type of seed. If planted earlier, they may remain dormant and sprout when the temperature is reached.
- Planting depth. Some seeds require light to germinate and should not be covered with any soil, while others should be planted at a specified depth in the soil. The seeds that should not be covered with soil can be lightly dusted with vermiculite to prevent them from washing or blowing away.
- Not enough light. After seeds have sprouted, the seedlings need lots of bright light to grow properly – 12 to 16 hours per day. Plants that do not have adequate light stretch to find the light they need. I’ve found that a window does not provide enough light for seedlings to grow properly. Lights marketed as “grow lights” are expensive and are not necessary for starting seeds. It’s best to use fluorescent or LED lights directly over the seed trays and adjust them upward as the seedlings grow. Seedlings also need a period of darkness each day for optimal growth. I use a timer to turn the lights on and off.
- Too little or too much water. Seeds and young plants need the proper amount of water to flourish. Seeds should be kept covered with a dome or plastic wrap to retain moisture, but the coverings should be removed once the seeds have sprouted since seeds need more water to germinate than is healthy for the young plants. Seedlings grown indoors tend to dry out rapidly and should be checked daily to see if more water is needed. Too much water is also a problem, as it can cause the roots to rot and lead to fungal diseases. Bottom watering works well to keep the seedlings hydrated – add water to the trays containing the seedlings and allow them to absorb it for a few minutes, then pour off the excess, if any.
- Not hardening off. Once the chance of a freeze has passed and seedlings are ready to be transplanted, it’s important to acclimate them to the outdoors. Don’t skip this step, or the time and effort put into getting the seedlings to this stage will be for naught! Move the seedlings outdoors to a protected location, out of direct sun and wind and continue to keep them adequately watered. After a few days in this spot, expose the seedlings to direct sunlight for one hour. Add an additional hour of sun exposure each day until the seedlings can remain in full sun for a whole day. At this point, the seedlings are ready to be planted in the garden.
I’ve found starting seeds to be very rewarding, offering an enormous variety of flowers and vegetables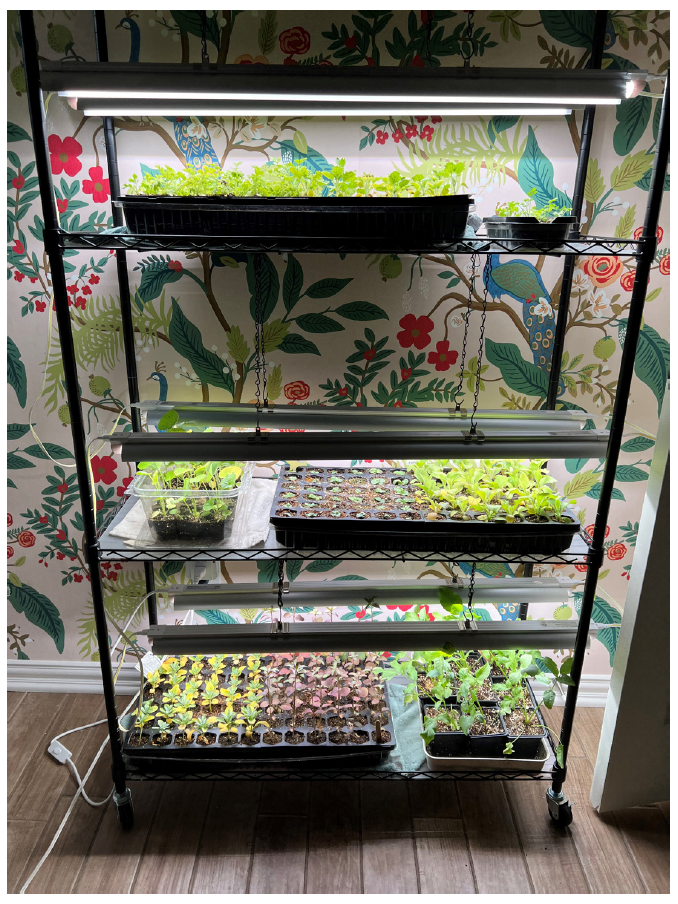 that are not available as seedlings at garden centers. I hope this list of tips for avoiding mistakes helps you to get your seeds off to a great start. Happy gardening!
For additional information, see Starting Seedlings at Home.
by Donna Summerlin, ECMG