Bring a bit of Asia into your container gardens with a lotus plant.
It’s a stunning, fuss-free plant producing eye-catching blooms and foliage. It performs great in the Texas summers and overwinters easily. And the best part, in a container, it is easily maintained in exchange for its exotic beauty.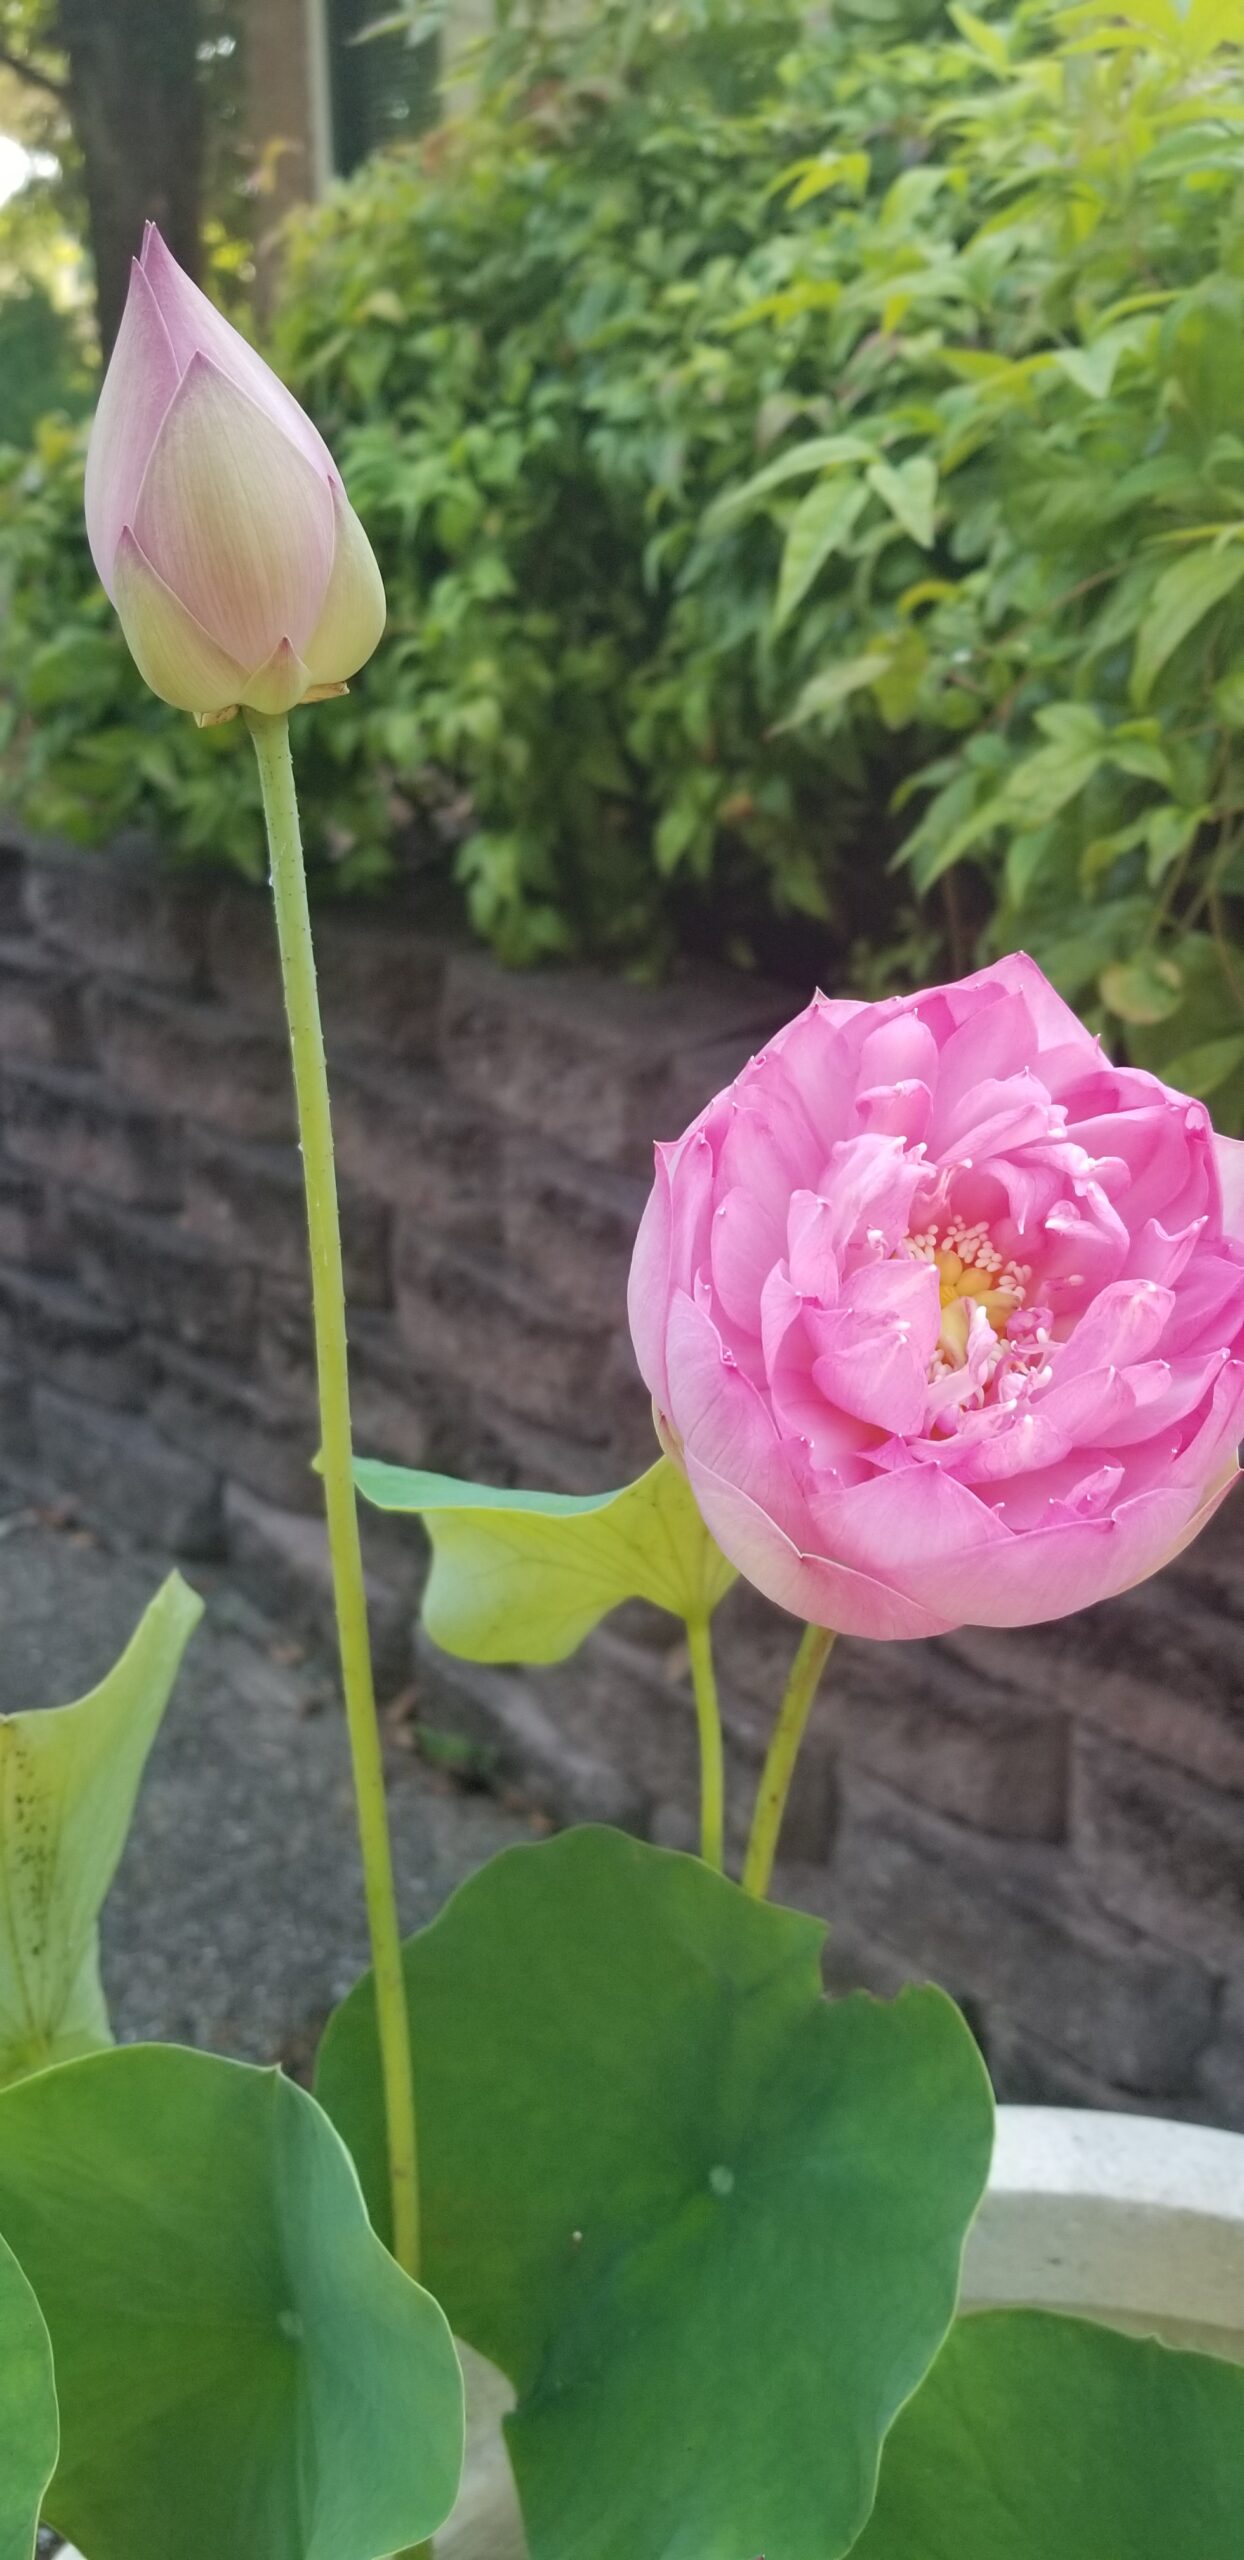
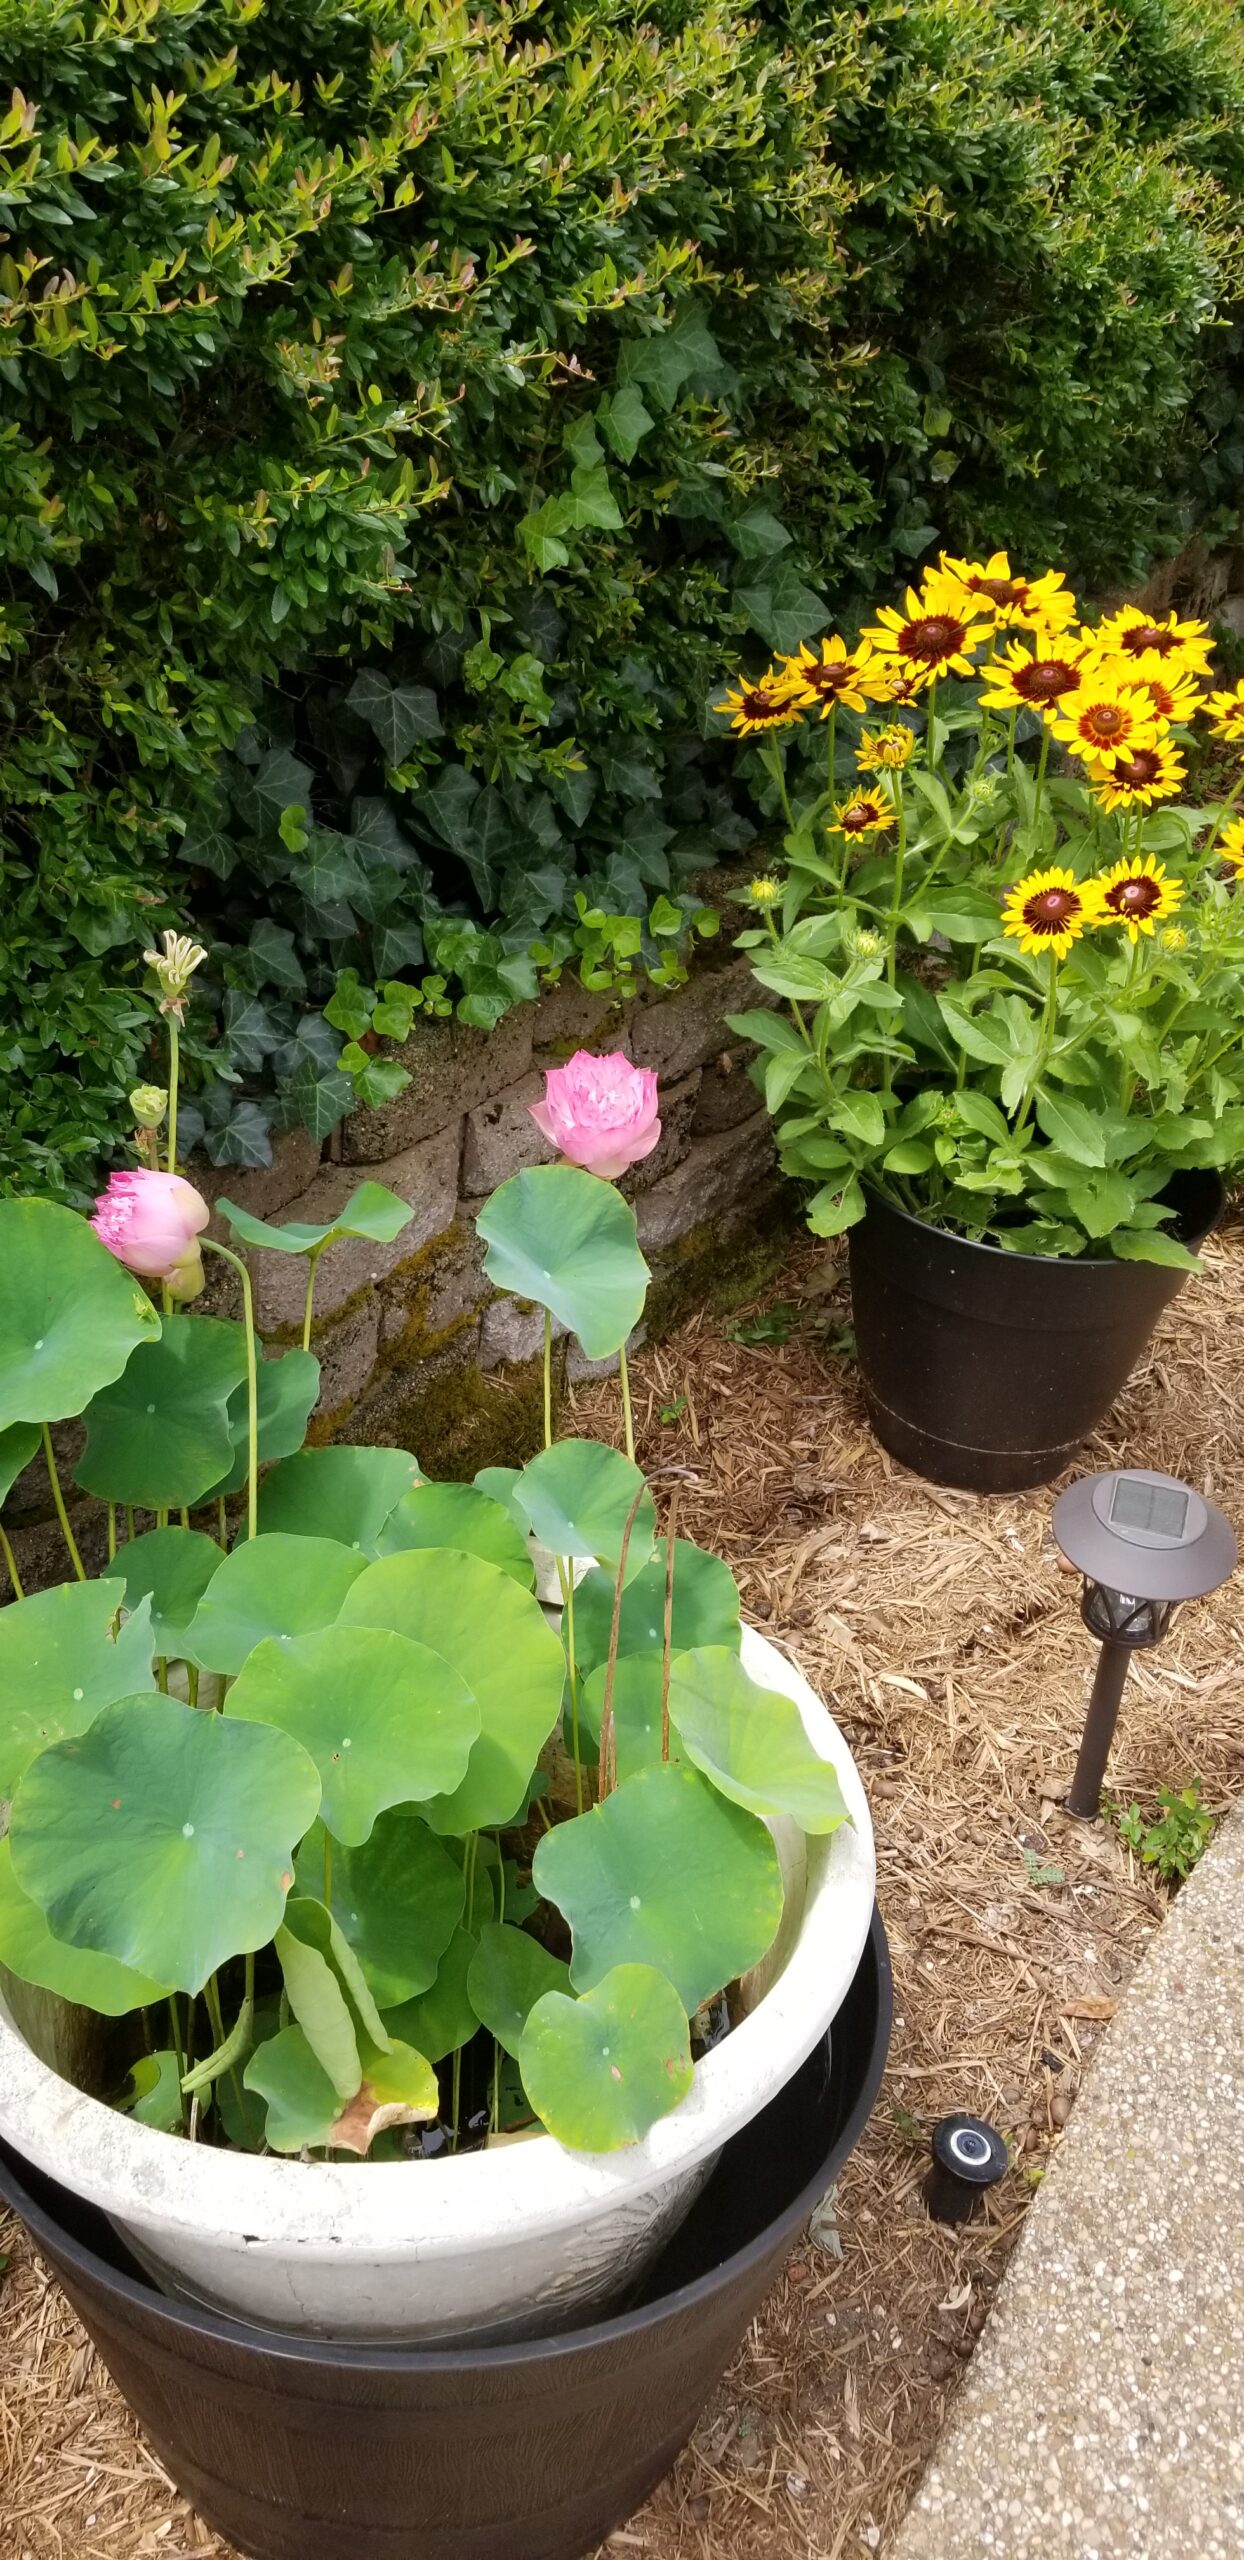
The lotus grows from rhizomes or tubers submerged in water and produces a single spectacular flower per stalk in colors ranging from white, cream, and yellow, to pinks, reds and, more rarely, purple and blue. Depending on the plant, some blooms are tiny and delicate, while others are as large as your hand. Although the brilliant flower lasts for only several days, opening during the day and closing at night, it is rewarding to grow and requires little maintenance in the Texas climate beyond fertilizing it during the growing season and keeping water in the container.
An important point to know about the lotus is that it is not the same plant as a water lily. They are often confused with each other, but they are two separate plants. The water lily (Latin name nymphaeaceae) is native to North America while the lotus (nelumbo) is native to eastern and southern Asia and Australia. They both are hardy plants and grow well in Ellis county (USDA zone 8b).
Both are water-logged plants that look similar, but there are differences between them. One of the most noticeable is where the leaf and flower grow. The lotus leaves and flowers rise above the water level on aerial stems. In contrast, the water lily’s leaves and flowers float on the water’s surface. Lotus leaves have a thin, papery feel while the water lily appears waxy. The leaf shape is also different. The lotus leaves are round and some have a ruffled edge, while the water lily has a distinctive notch or slit from the edge to the center, creating what has been described as a heart shape.
It is possible to start a lotus from seed, but it is easier to plant the tuber. Tubers can be ordered online and they are shipped during in the spring, which is the best time to start them. It is safe to plant the tuber when the temperatures do not fall below 50 degrees. Generally, it is not recommended to start them in a greenhouse because too early of a start can cause the plant to struggle later. It is also important to note that the first year there may not be many blooms, but as the plant ages, the number of blooms increases each year.
To prepare a container for a lotus, you’ll need the following:
- A round container with no drainage holes.
- Potting media, such as silty loam, topsoil (purchased in bags at a garden center), or soil specifically for aquatic plants (sold in bags at the garden center). Do not use regular potting soil because it is too light and will float in the water.
- Aquatic plant fertilizer and water.
Select a container based on the mature size of the lotus. Small lotus plants do well in small, wide, but shallow containers. Deep containers are best for large plants. As an example, a tiny lotus will be fine in a pot with an 8-inch diameter, and a large lotus will need a 20- to 48-inch diameter container such as a plastic half barrel.
Round-shaped containers are the best choice. As the tubers grow and multiply, they will grow in a circular pattern instead of becoming compacted in a corner.
Choose a location for the container. It should be where the plant will receive at least 6 hours of sunshine daily. If using a large container, position it in its final location before planting the tuber. Once the container is filled with water, it will be heavy and unwieldy to move.
Prepare the container by putting several inches of soil in it. Add enough water to cover the soil by at least 2 to 3 inches. If it is a large container, more water will be added later as the plant grows. (Tip: wait for a couple hours to let the soil settle in the water before planting the tuber. This way the water will be clear and it will be easy to see the tuber placement.)
Submerge the tuber in the soil making sure the growing tips are pointed upward, but do not bury the tips. The tips should be exposed but underwater. Now comes the wait.
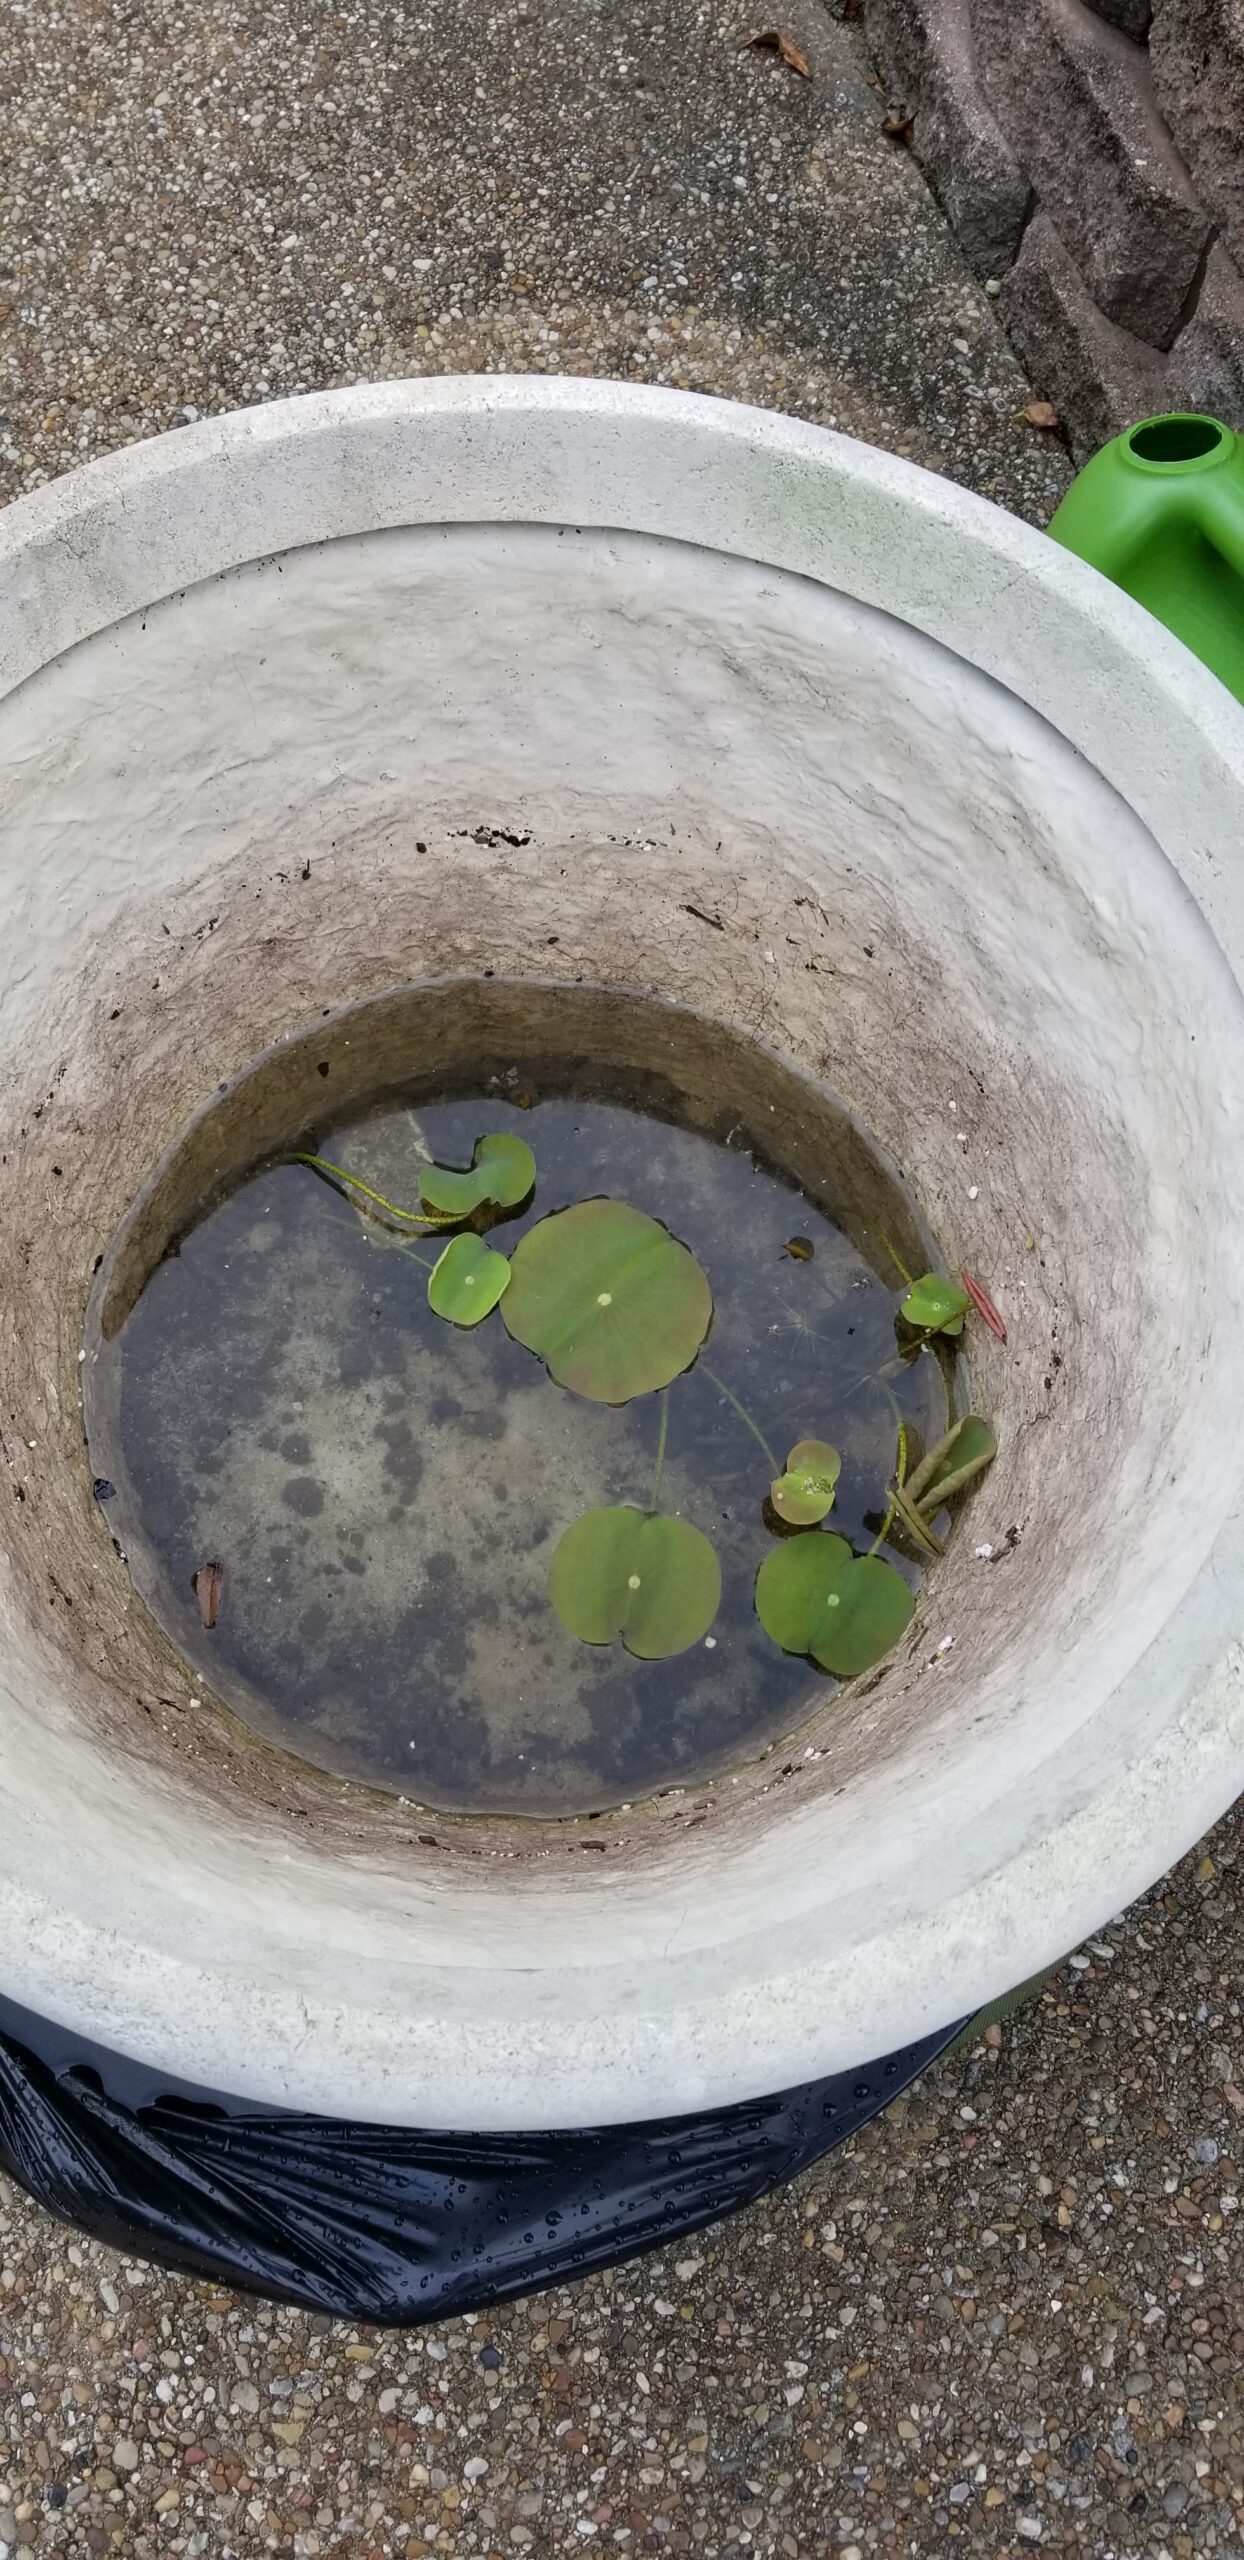 Within several days or so, its first leaves, called coin leaves, will appear. Coin leaves tend to float on the water’s surface, and they begin the process for the season’s growth. During this time, continue to replenish the water as needed to maintain the 2- to 3-inch coverage. Several days to a week or so later, aerial leaves will sprout. It will look like a stem with a rolled leaf at the tip. At this point, raise the water level to near the top of the container (even if it submerges the aerial leaf), and begin fertilizing the plant, following the instructions on the fertilizer label. Mosquitoes are not an issue using a periodic treatment, such as Mosquito Dunk.
And, in a nutshell, that is it. Throughout the growing season, continue to fertilize according to the label instructions and maintain the water level in the pot (for me, I usually add water about once a month during the hottest part of the summer). At the end of the growing season, the stalks will dry out and the foliage will die back. You’ll have lovely distinctive dried seed pods to collect (if desired). Through the winter, it may need some extra water from time to time to maintain the water level, but usually it is maintenance free. The next summer, expect to see those aerial stems sprout again, for another round. It will not be long before beautiful lotus flowers become another attraction to your garden’s beauty.
by Teresa Brown, ECMG Intern