I wanted to know how my organic fertilizing program was going on a garden I had started in March 2021 after we had moved here.
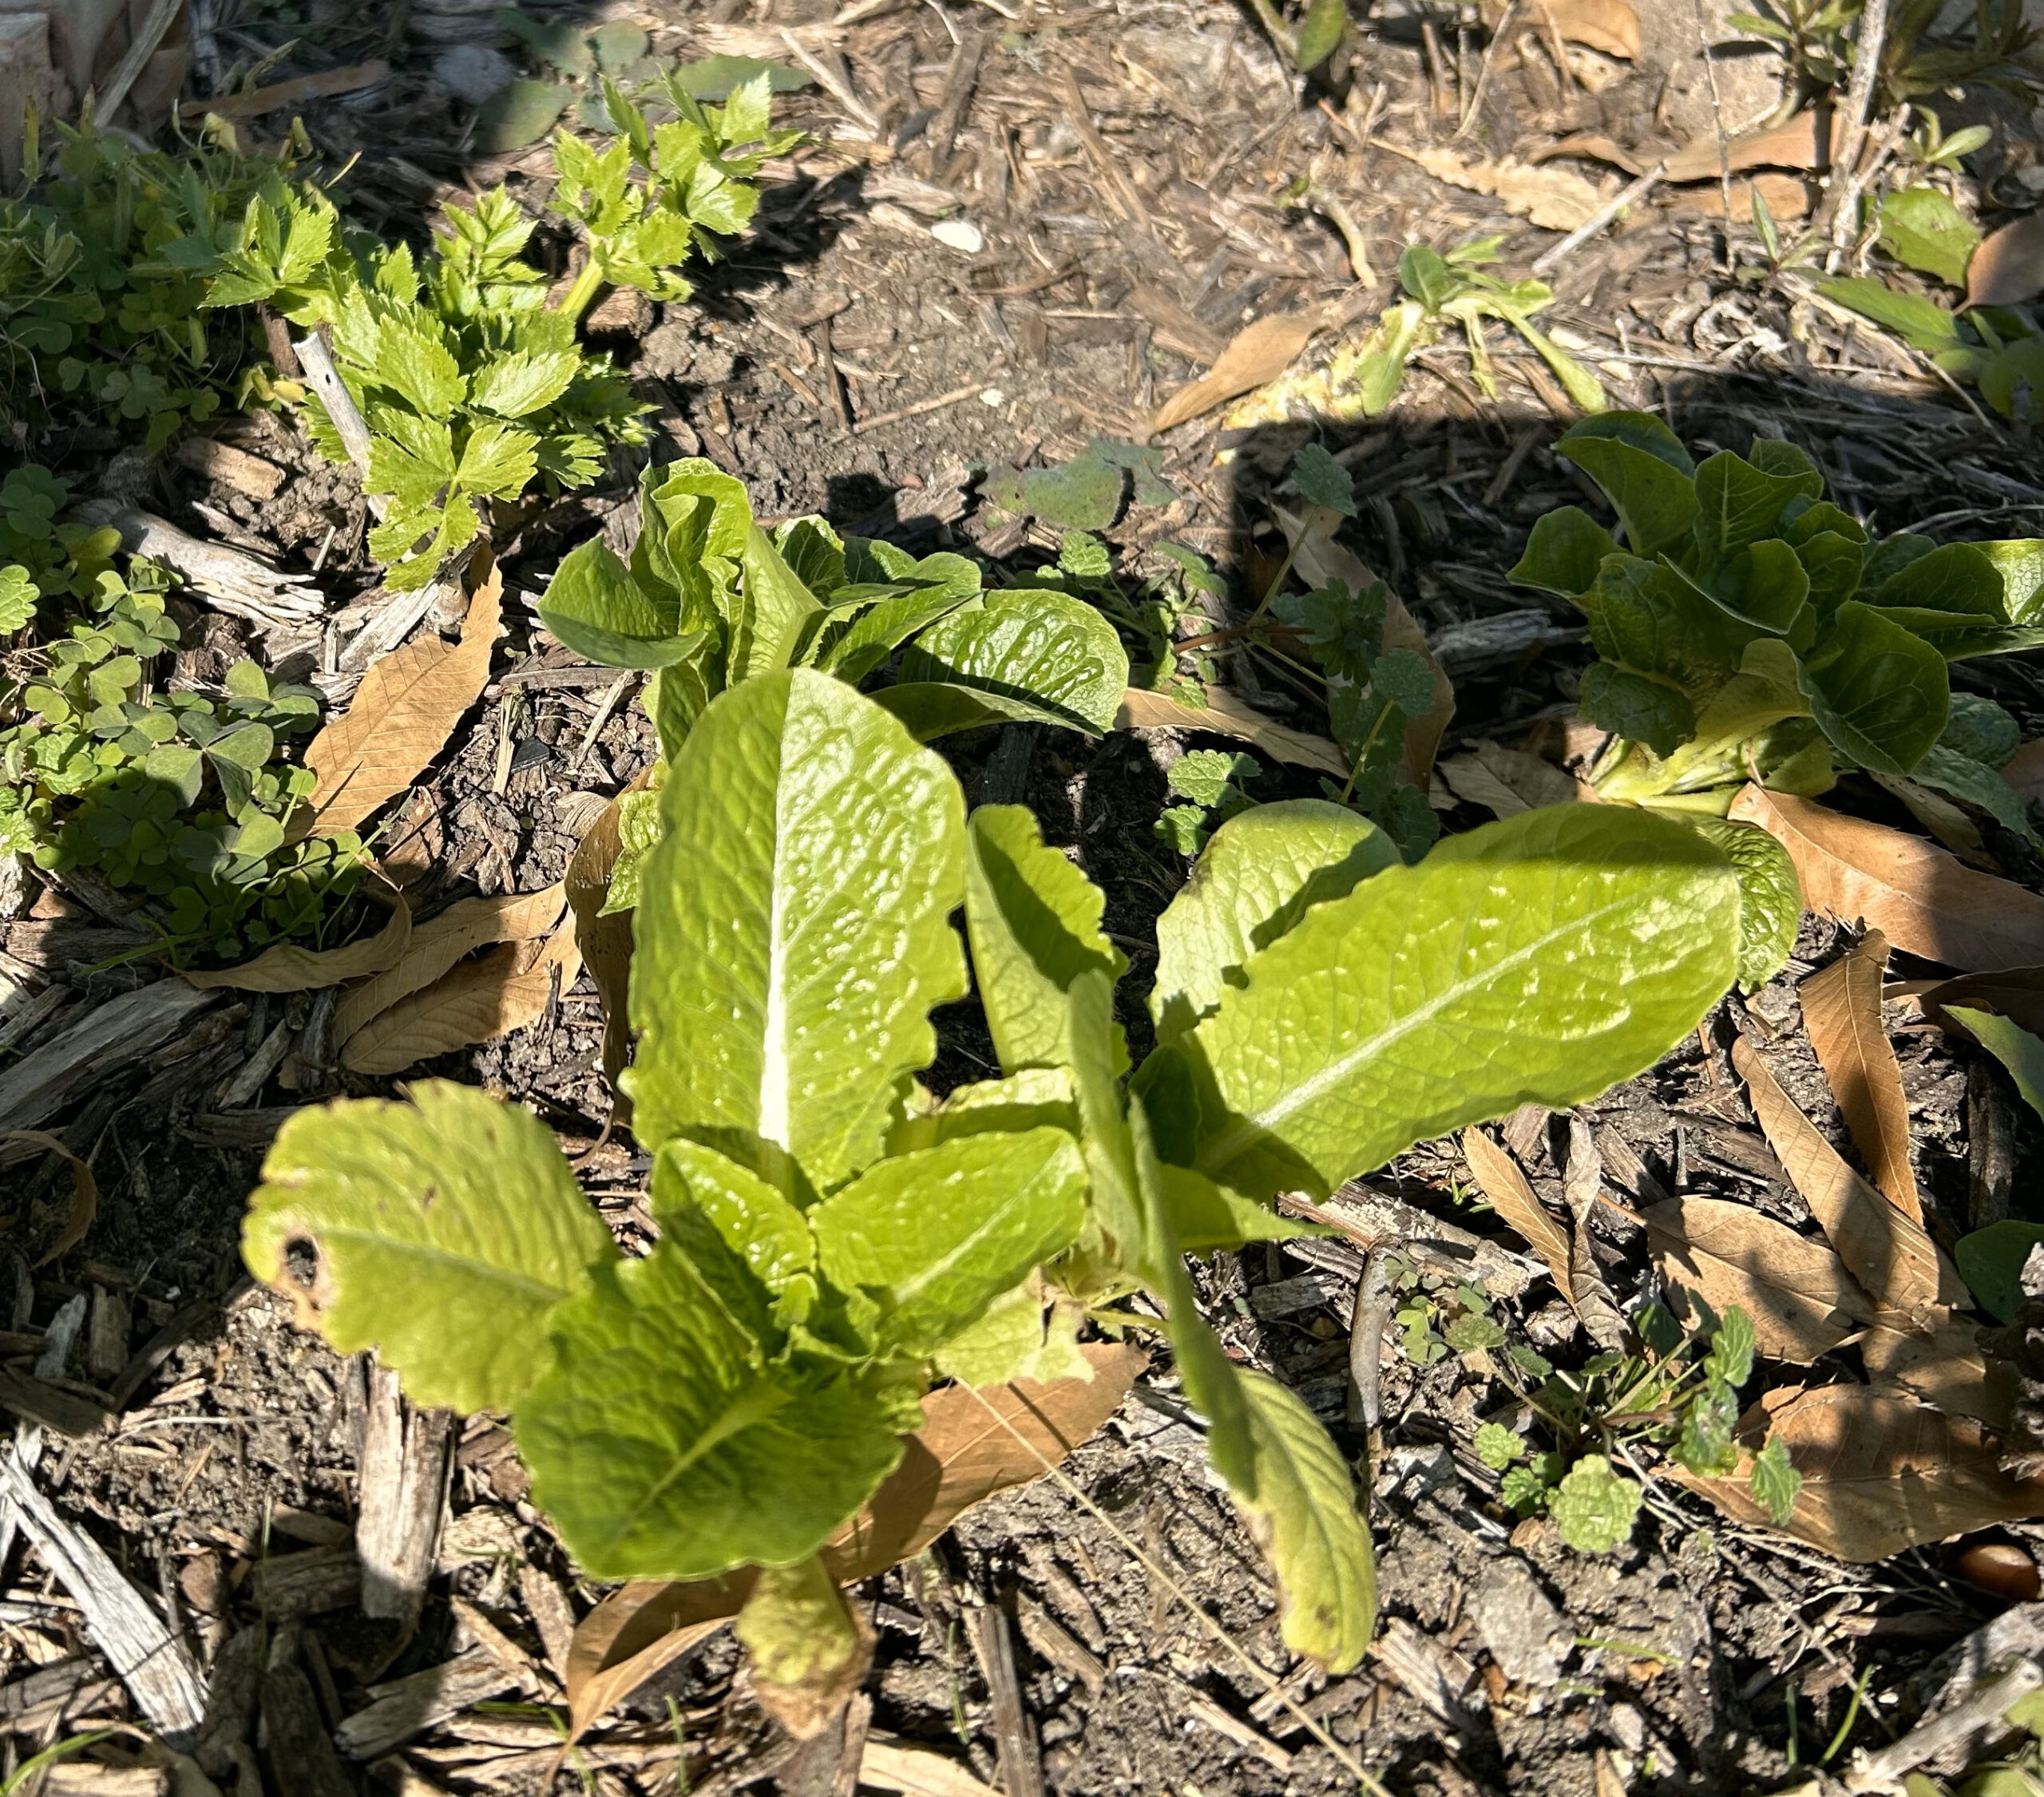
The 4-foot by 8-foot garden had not been fertilized since early October 2023. I had been growing tomato and pepper plants there, and the plants had done okay despite a hot, dry summer.
So, I decided to see if a locally bought big box hardware store sample kit would suffice for testing. I used the Texas A&M soil testing service as a standard.
Link to the Texas A&M soil testing service: https://soiltesting.tamu.edu/. Once you get on the web page, click on “Sampling and Shipping Instructions.” Basically, the service instructs you to take 8 to 10 six-inch core samples, mix everything, removing any non-decomposed organic material, and put 2-3 cups into a quart-sized zip lock bag. pay online ($12 per test), enclose the receipt, label the bag, and mail everything to the soil testing service. I mailed two tests, including one from the lawn, and the postage cost me $10.
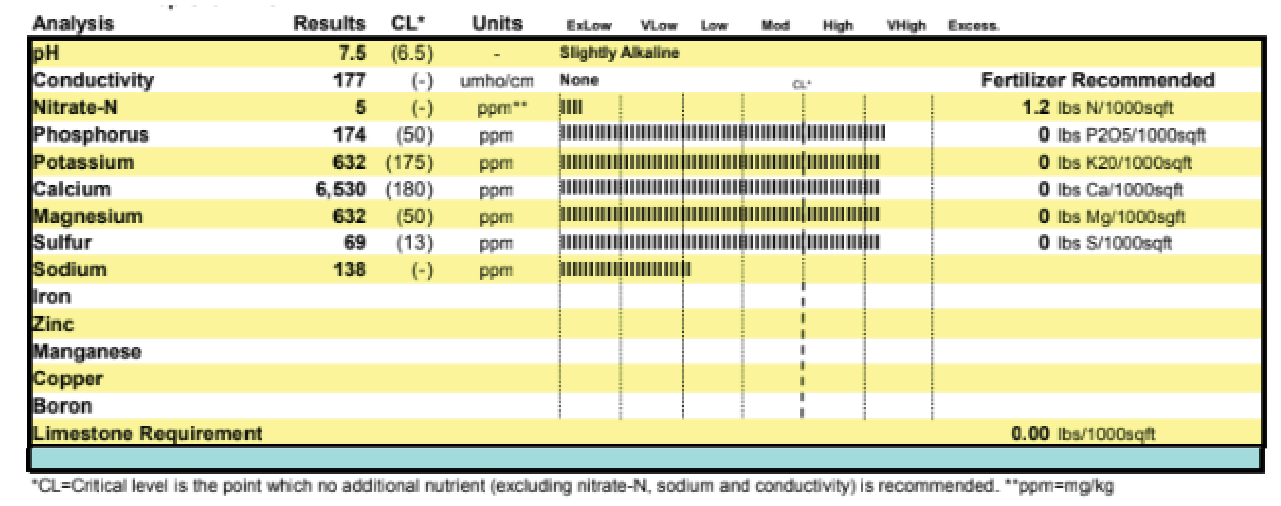
Results of the Texas A&M test.
The hardware store-bought test kit used colorimetry. The name of the product is Rapitest. (Specific product brands are not endorsed by ECMG Texas A&M, and Texas A&M Agrlife Extension Service.) It contains four rectangular testing containers, each with two divisions: one for a sample plus reagent and one for a control. The package looks like this:
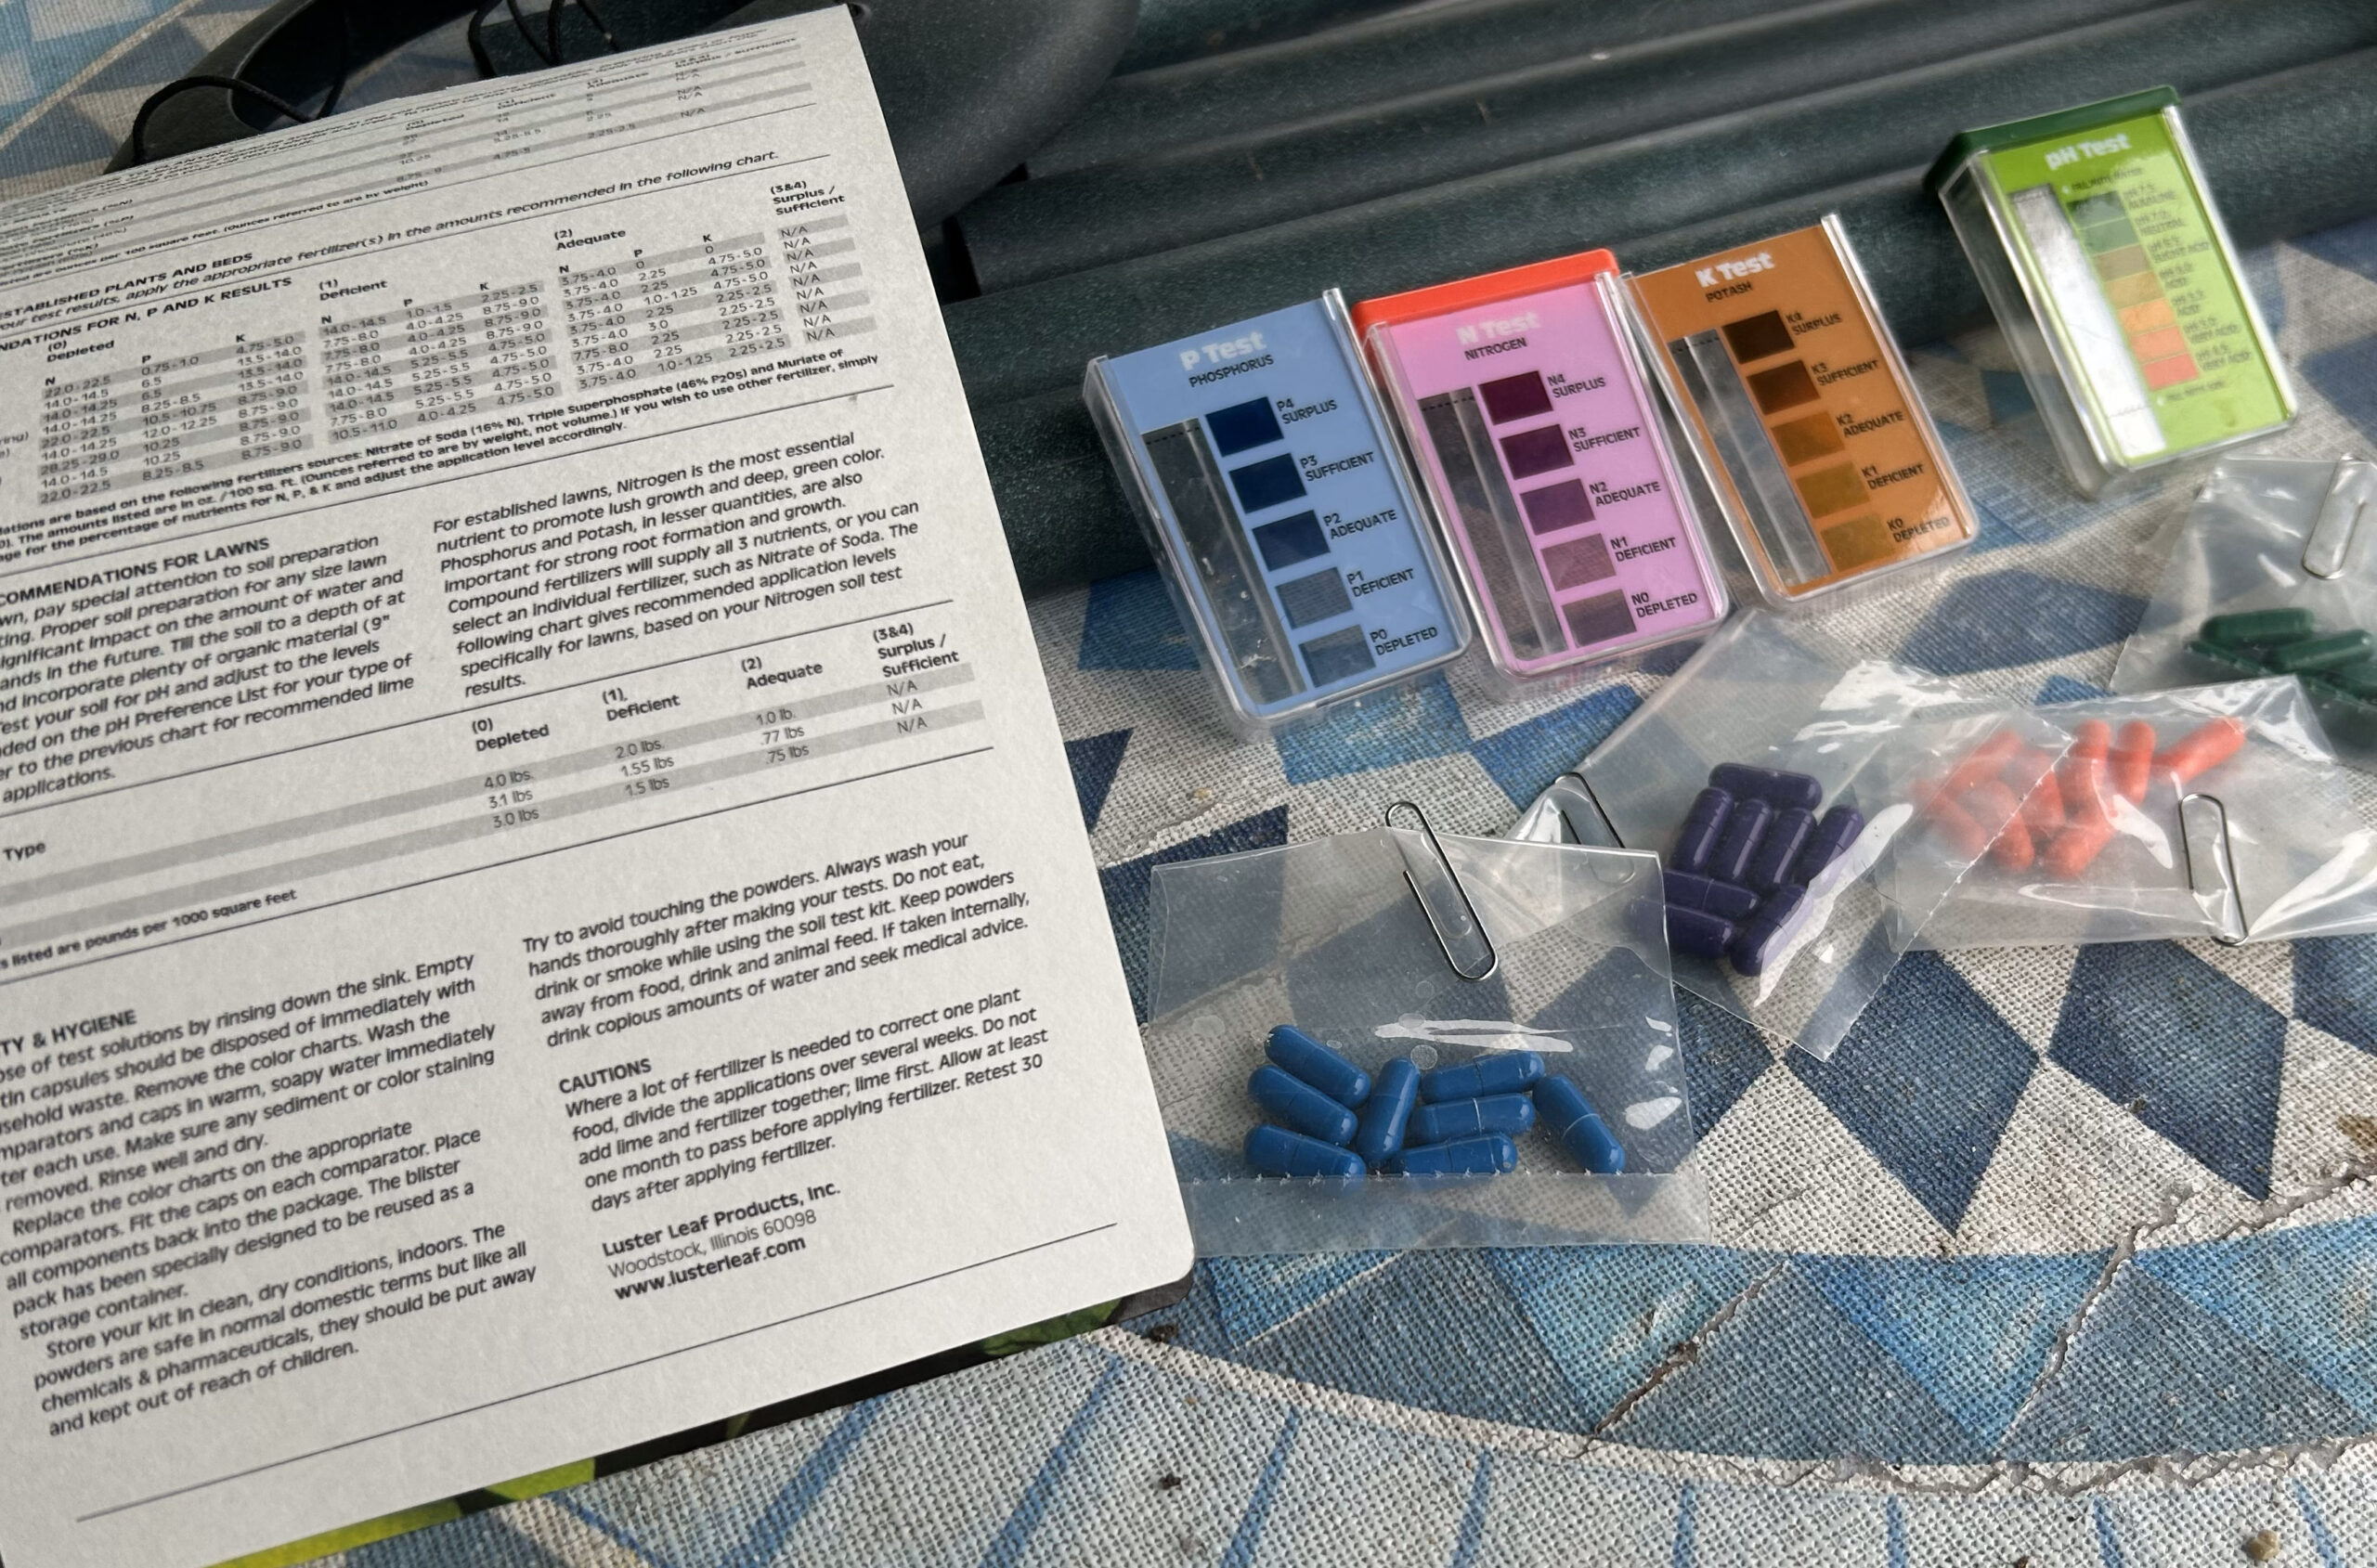
For nitrogen, phosphorus and potassium, the kit instructs you to take a single sample 3+ inches deep and to mix the soil with distilled water. Since I knew that our local clay soil doesn’t mix very well, or even fit in the container, I also, in addition to instructions, lightly pulverized the sample with a wooden mortar in a stone pestle, removing expanded shale, roots, etc. The soil testing service also pulverizes, so on this score, I was matching “like with like” in this comparison. I allowed the sample solution to settle overnight.
Finally, on the control side of a sample container, I added sample water to a line on the control partition, then sample water to another line in the test partition, then added reagent, then capped and shook, then waited the time specified to read the color of the sample from a color chart.
pH measurement was different and uses actual soil in the test division.
I found that color matching was difficult. I tried various lighting conditions and background colors until I found something that would match.
Here are my results.

With Rapitest, the gradations are for N, P, and K in order:
- Depleted
- Deficient
- Adequate
- Sufficient
- Excess
Comments:
- It was difficult to get any color match at all. Indeed, it was very difficult to get any color at all, and when it did, for N, the result should have been “depleted” if it was going to match the soil testing service results.
- As you can see, there was no agreement with the soil testing service results. What I might have been seeing were year-old or more reagents that were simply no longer reacting or reacting in an unexpected way. Given the number of very favorable reviews at an online website, I think that this is most likely the case. Indeed, there were a few reviews that reacted similarly.
- The pH may just not have been registering anything. It was more gray than a shade of green that I would have expected.
- Handling the testing containers and the reagent capsules were difficult for my shaky hands. One reviewer had a good idea: to tape the containers down. The reagent capsules were supposed to come apart so the reagent could pour into the container. They were stuck together. Instead, I had to snip them on one end. These are more indications of aged reagents.
- The package said there are 40 tests. Well, really, there are 10 comprehensive tests, with N, P, K and pH having 10 tests each. The package recommends taking several samples, testing each sample separately. So, really, in comparing costs with those of the soil test service, there are significantly fewer tests than one might be led to expect from the package.
Conclusions:
Buying a soil testing product from a big box store may not give you dependable results. Purchasing from an online retailer, where the reagents may be more current could be a better idea.
I went back to check the big box store website. Rapitest no longer seems to be carried. This may be due to normal product rotation. It does indicate that I bought a product that had been discontinued or was about to be. That reinforces my opinion that I was using old reagents.
by Paul Thomas, ECMG Intern