Soil Testing

Don’t Guess – Soil Test!
Some of the best time and money spent in gardening is the relatively small amount needed to test the soil.
Why do soil testing
Proper soil fertility is the foundation for plant health; soil pH and nutrient levels vary greatly from site to site. Turfgrass, shrubs, flowers, fruits, and vegetables all have specific nutritional requirements. Soil testing is an important diagnostic tool to help ensure the proper amounts of fertilizer are applied. Both over and under applying fertilizers wastes time and money and gives poor results. Over-application harms the environment, especially surface and ground water.
What a soil test shows
A soil test conducted thru the Texas A&M Agrilife Extension Service Soil, Water and Forage Testing Laboratory will measure soil pH, salt content, and available nitrogen, phosphorus, potassium, calcium, magnesium, sodium, and sulfur. Upon request, it will also measure the micronutrients copper, iron, manganese, and zinc. The report will also include custom recommendations as to which nutrients – and how much of each – should be applied to healthy plants in the landscape, vegetable garden, or fruit orchard.
When and often to test soil
Have the soil tested if it has never been tested before. Otherwise, have it tested every 3 years unless management techniques have changed. The lab is open for soil testing all year long. Testing the soil in the fall after crops have been harvested is a nice habit for closing out the growing season and beating the spring rush for soil testing.
Where to get forms, bags and more info
Soil sample bags, information sheets, and submittal forms are available from the Henderson County Extension Office on the third floor of the Henderson County Courthouse. Also, soil sample bags, information sheets, and submittal forms are usually available at Master Gardener presentations and information booths. Thirdly, the information sheets and submittal forms are available online at Texas A&M AgriLife Extension Service Soil, Water and Forage Testing Laboratory (tamu.edu)

The accuracy of a soil test is a reflection of the quality of the sample taken.
How to take a soil sample:
- Determine the area to be tested. Don’t combine the soil from the lawn with the soil from the vegetable garden into one test.
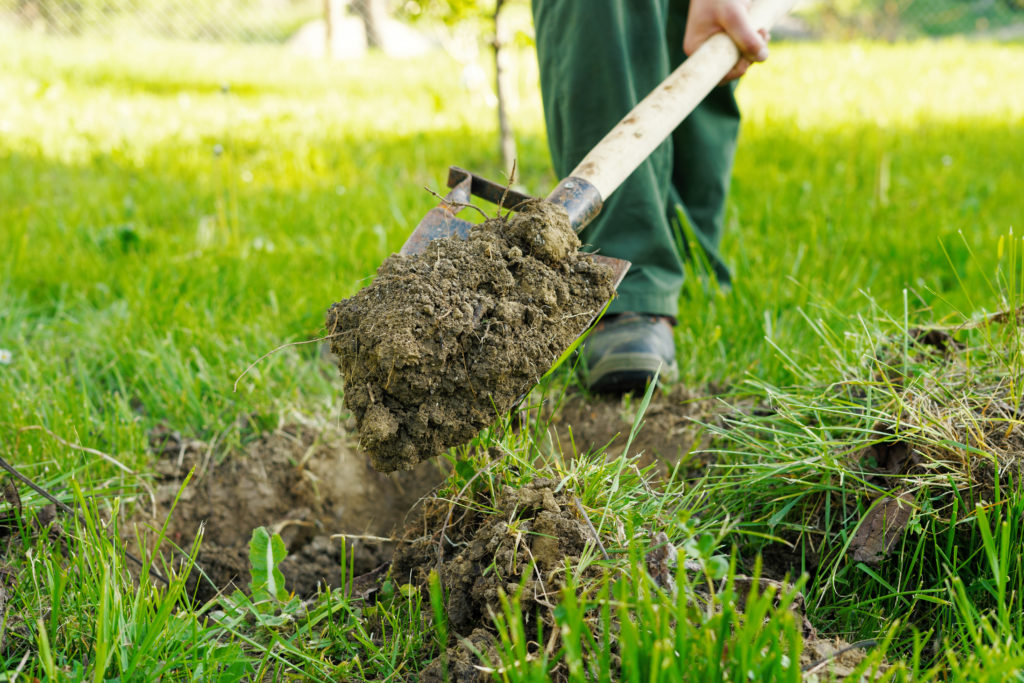
- Use a clean shovel or trowel to collect 10 random soil samples from the area to be tested & place the samples into a clean pail. If the space to be tested is small, 3-5 random samples is fine.
- Avoid including samples from unusual spots like under eaves, near brush piles, gravel roads, or compost piles.
- Each sample should be a slice of soil to a depth of 6”.
- Remove grass, mulch, or debris before measuring the 6” and taking the sample.
- Mix the 10 samples in the clean pail thoroughly and then remove approximately 1 pint of the mixed soil to send in to be tested.
- If the soil is wet, spread it on paper & allow it to air dry before placing it in the bag.
- Do not dry the soil in an oven or microwave because this changes the potassium chemistry in the soil.
- Carefully label the sample bag.
Multiple areas may be tested (and thus multiple bags sent) using one submittal form. Make sure to accurately identify each bag. See submittal form and information sheet for additional instructions.