By Elaine Wilshusen, Somervell County Master Gardener
Last month, I posted a brief article on soil blocking.
Below are some photos of my first attempt at starting seeds using the “soil blocking” technique. So far, it hasn’t been bad…
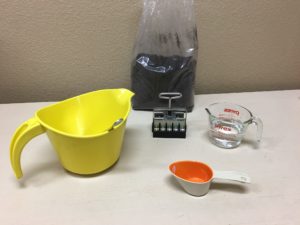
Day 1 – setting up to mix the soil with water. I purchased a pre-made soil mix for simplicity’s sake. My granddaughter thought I was making brownies!
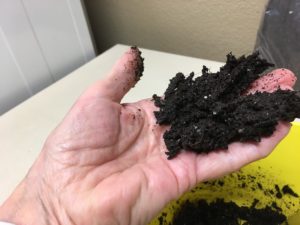
I slowly mixed enough water with a large spoon until the mixture had the consistency of mushy oatmeal. I just mixed a small amount since I was only doing 2 blocks this time.
The mixture is packed in and ready to go.
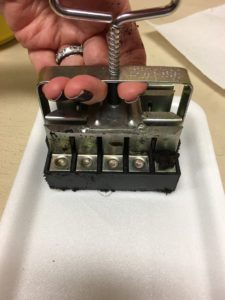
Here goes nothing….

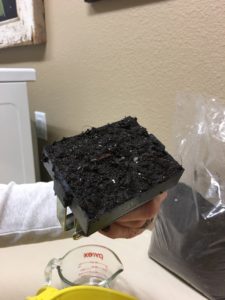
Ta-dah! My first thought was “wow, 20 plants from such a small footprint!” Appx 4” x 5”. After this, I placed kale or chard seed in each little divot on top of each block and covered lightly with a bit of soil from the existing block.
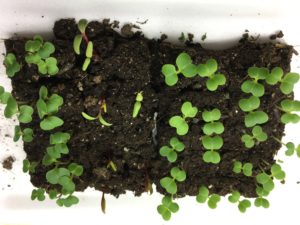
This is day 5. I had the blocks placed on a germination mat with the thermostat set to 75 degrees and covered with a clear plastic top from a salad carton to help retain heat and humidity. The chard is coming up slower than the kale. This is a picture of 2 blocks together. As soon as germination was appx 50%, I took them off the bottom heat. They will stay inside under a grow light for another week or so until I get them transplanted into a container outdoors.
AFTERTHOUGHTS…I am worried that the blocks may not hold up well to continuous watering – water is placed on the tray directly around the blocks and is absorbed. Some of them look like they may fall apart. Next time, I will try to pack the soil mixture in more firmly and also be a bit more careful when I place water on the trays. I will also not place the blocks so closely together so the water can penetrate better into the centers of the blocks.
As the weather gets warmer, I will keep on trying different seeds and update on how the first little seedlings are doing.